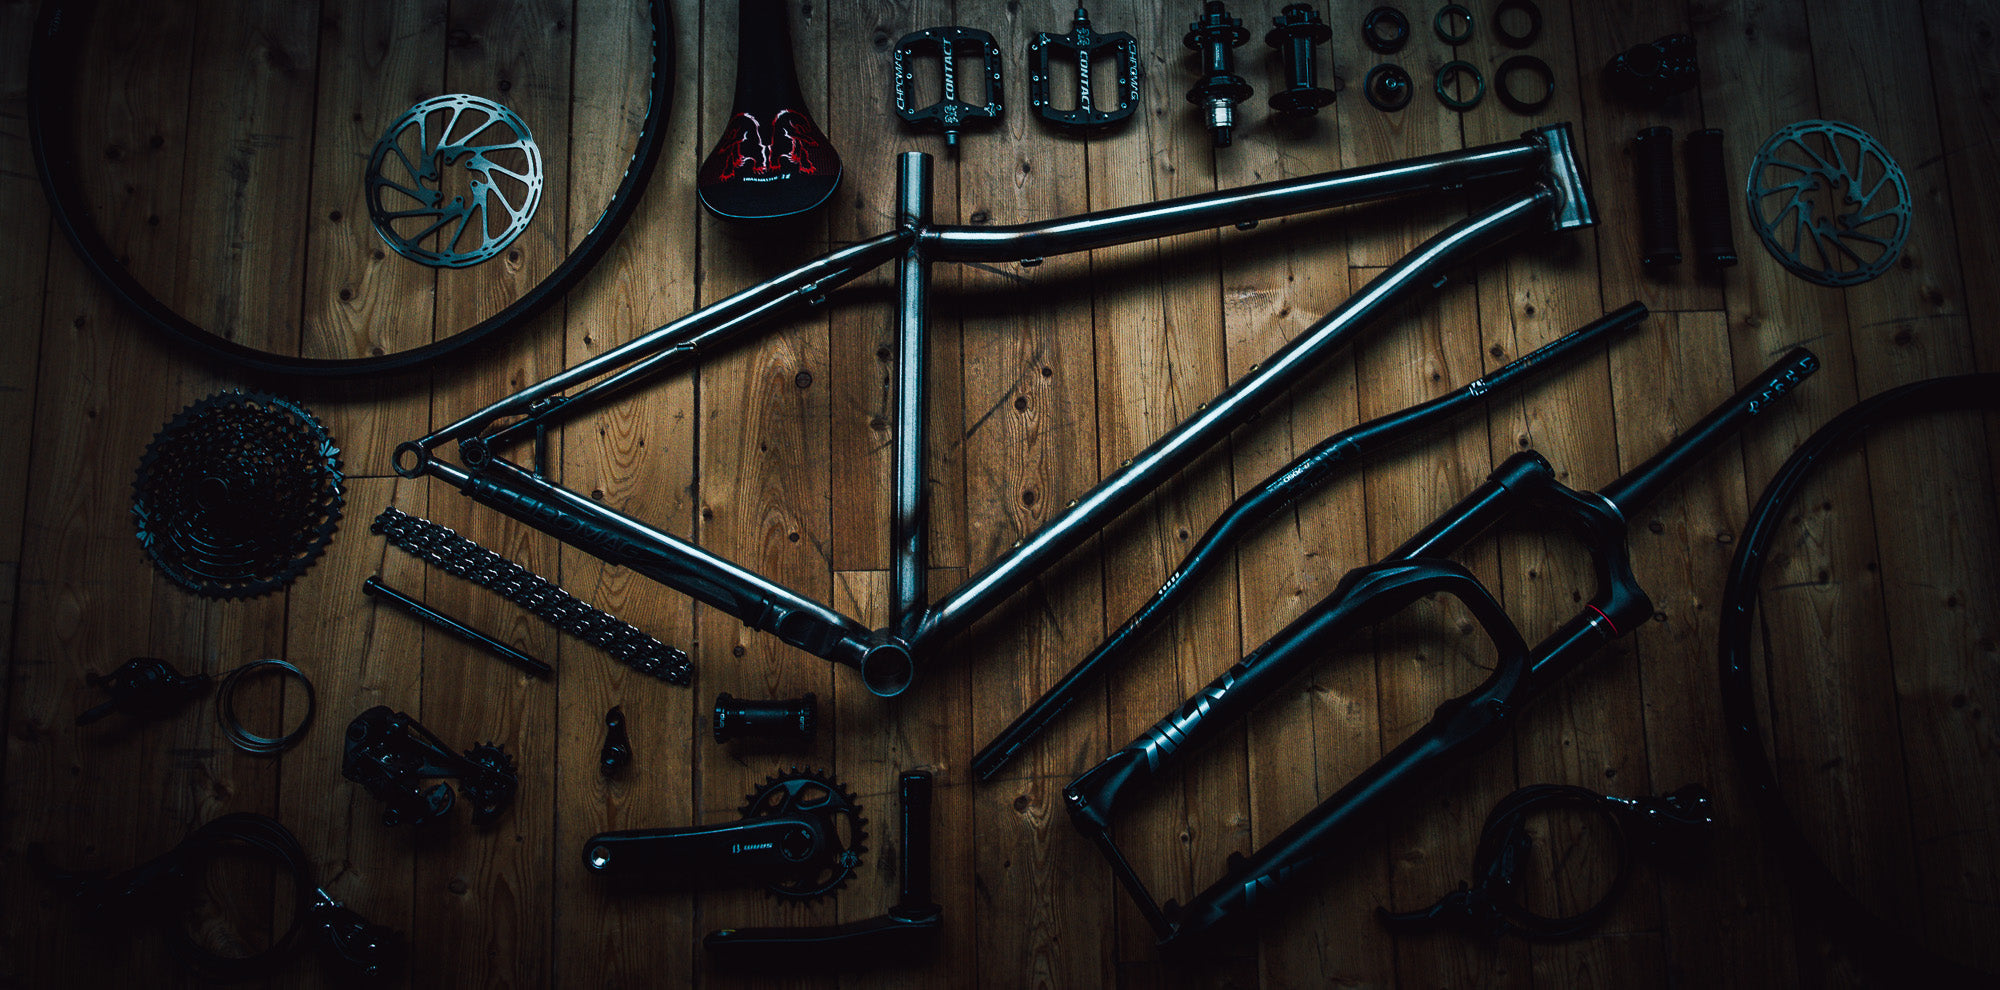
We've used our knowledge of making stems for almost 20 years to create a new, highest level, Canadian-made bar grabber. (You can find the RIZA here.)
Let's have a little walk through how the RIZA is produced, right here in Whistler, British Columbia.

CAD (Computer Aided Design):
Relates mainly to designing a product, put very simply, creating a computer model. In this case 3D, but can be 2D.
CAM (Computer Aided Manufacturing):
Relates to physically creating something. The art of telling the machine what you want it to do and how you want it to go about moving.
Two very different processes, extensively intertwined.

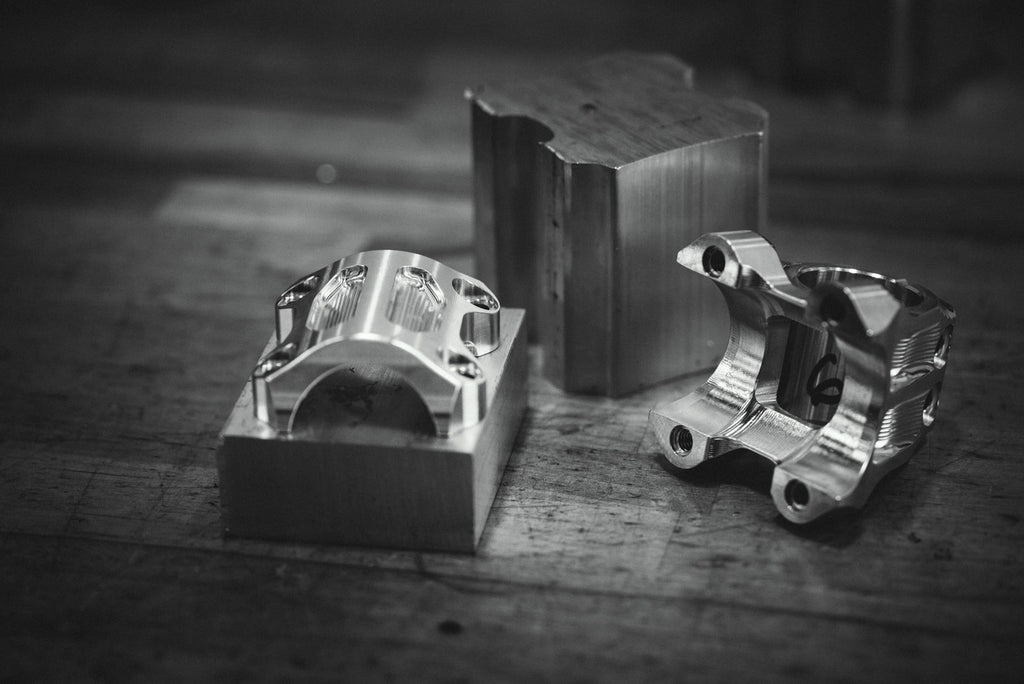
We might move to a near-net forging in the future (think waffle iron), which we have done in the past, but there is obviously quite a high cost barrier to do this. A near net forging basically squishes the alloy (in this case 6061 aluminum), into a shape that is very close to the finished shape of the stem, and then very little machining needs to be done. It’s not without its challenges, the biggest being you need a forging for each length/bar clamp size, whereas we can use one extrusion for all sizes at the moment. The reason we can do this, is the footprint of the stem is very close for all sizes, we just need to cut the stock to different lengths.
Even cutting the stock is a skill, working out the thickness of the blade and how many sizes you can fit to a bar to produce as little waste as possible.
 |
 |
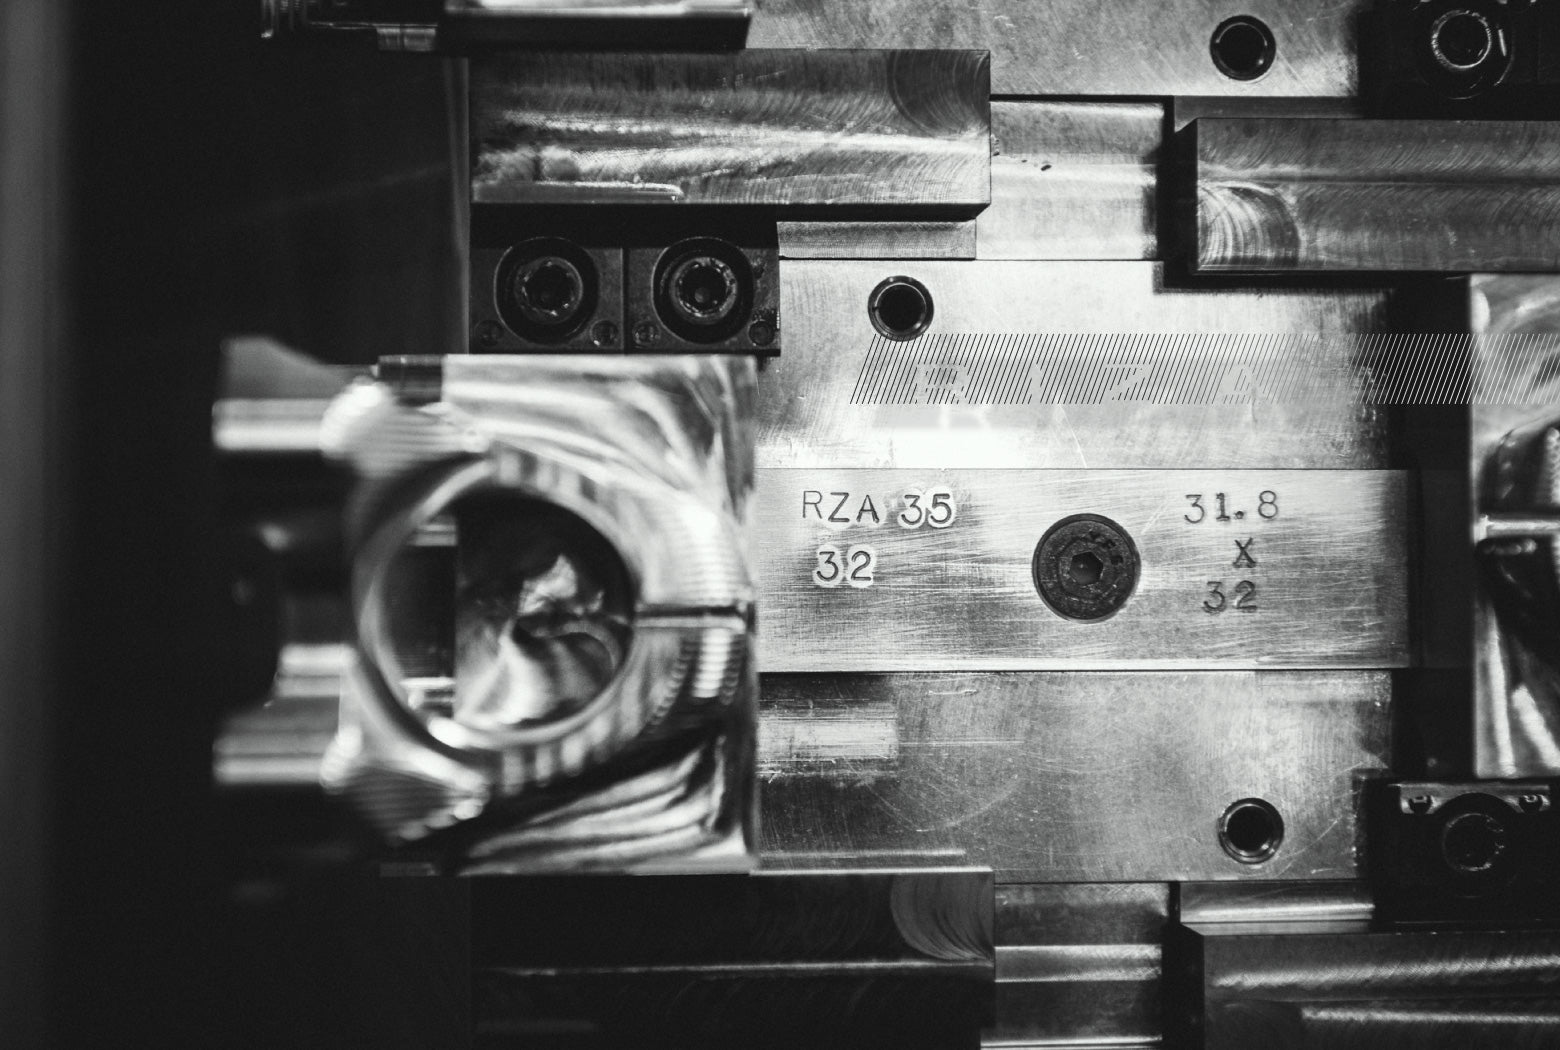
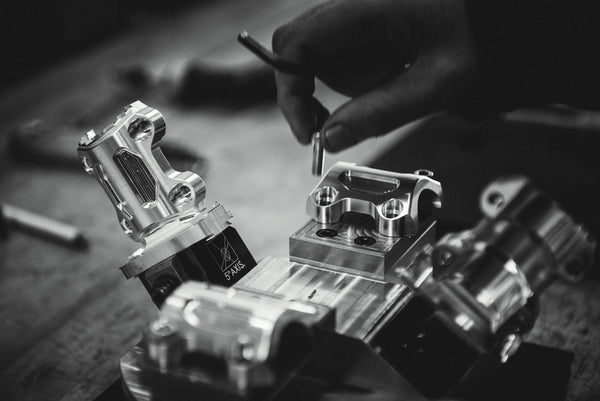
Once the stock is cut to length, it’s loaded into its respective machines ready to press the big green button. This must also be done with upmost care. The wrong size stock loaded with the wrong program can have catastrophic effects and cause 10’s of thousands of dollar's worth of damage!

It’s a common misconception that you just put a piece of metal in a machine, press a green button and out pops your part. I think the best way to challenge this notion is to ask “but how do you hold it?” Usually you can hold your stock fairly easily in a vice as it has nice square sides, but once you machine that side, you need to flip it over and finish machining the side you were previously holding. This usually requires some innovative techniques and custom tooling. For a little challenge, take a look at the RIZA faceplate, and think about how you might hold it down!
 |
 |
Once the part is ready it usually needs to be de-burred by hand. Changes can be made to the program to reduce the need for this, but usually at a cost to run-time. If the operator has some time between cycles (the RIZA faceplate being 18 minutes), the decision might be that there is time to perform some hand deburring while the machine is running.

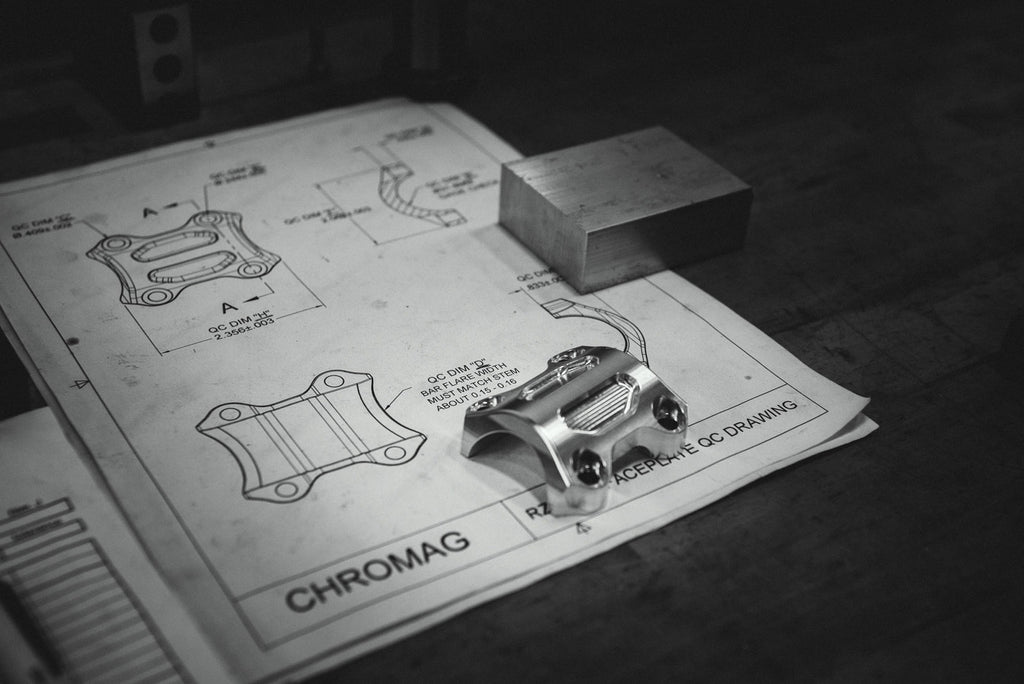
When the part is ready it’s removed, new stock is loaded, and the cycle runs again. The part is then run through QC. This might involve measuring certain features to a high degree of accuracy, using no/go gauges or simply checking the fit with its counterparts. The program may need to be adjusted as things change throughout the day, so a periodic tolerance check keeps tabs on this. The machine warming up can have an effect, or even changes in operator. One operator may tighten things down ever so slightly differently to another which can lead to a different outcome, sometimes in a crucial area.
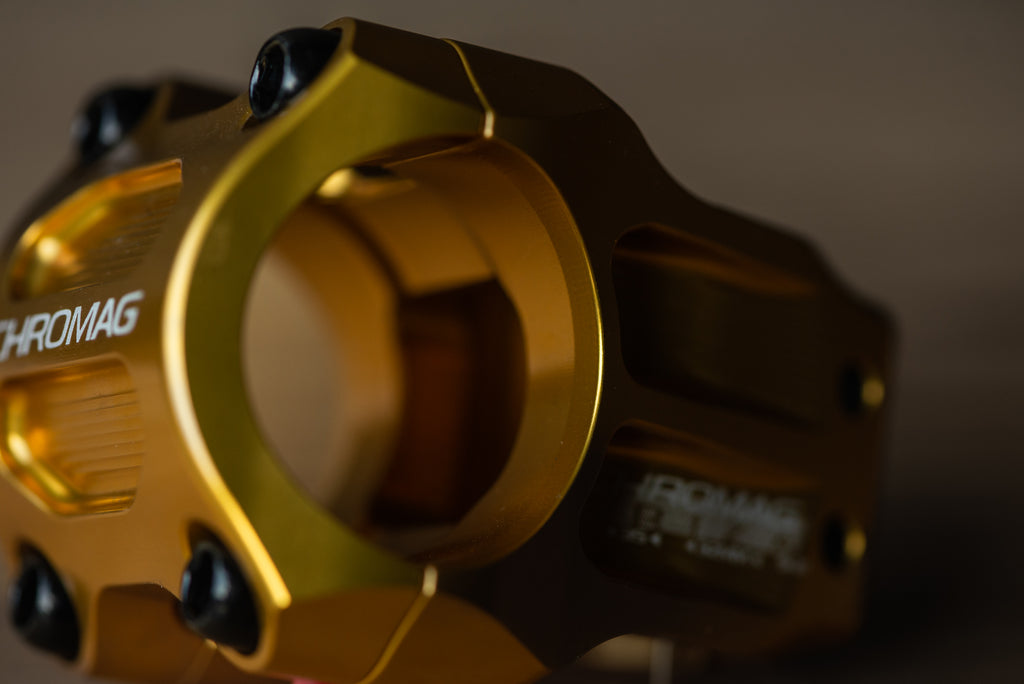
If the parts are within tolerance, they get put into a tumbler or polisher depending on the intended finished colour. The silver finish for example gets polished before anodising. The anodising in this case is clear, which allows the silver colour to show through, but protects it and keeps its brilliant finish from oxidising when you sweat all over it.
 |
 |
When the batch is ready, they’re sent off for anodising in Alberta. They then return for laser etching at NSB, a process which can ruin weeks worth of work in a just a few seconds!

We then assemble them here at Chromag, package them up and get them ready to ship out to our loyal customers. Before this we will have usually produced samples for testing, photographing and for athletes to try out.
 |
 |

 |
 |
Hopefully the gives you some insight into the level of care and attention to detail we put into all of our products, and with any luck learned a little something!
The RIZA comes in black, gold, red, blue and silver and weighs in at 176g (35x32mm). It comes in 31.8 and 35mm clamps and 32, 38 and 45mm lengths.